I can tell the weather has finally broken. I have the itch to work on the car constantly now! I promised some pics of the progress we made last week and they are at the bottom of this post. I can't tell you how much the use of Brian's lift helped in pushing the project closer to completion. I am claiming that last week embodied a year's worth of work. We raised and lowered the body no fewer than 20 times. When I do that at home it takes a few helpers to remove it, then a few helpers to put it back onto the chassis. Usually there is about 3-4 days between lifting and replacing. We could do it in 30 seconds at Brian's... I CAN'T THANK BRIAN ENOUGH!!!
Tonight I worked on painting up the headlight buckets I blasted last night. Out of 4 buckets, I came up with 2 good sets of parts! I had a few issues removing a couple of the screws, but all is well. The blasting yielded 95% clean metal (forgot to take photo) and I coated with POR15. I will weld the jack mounts on tomorrow night over at Brian's.
I bought rubber body bushings for the trailing arm/shock tower, front axle mount and area under the luggage compartment where it mounts to the frame. The new bushings are incredibly stiff and the old ones are very spongy. This is causing the door gaps to close at the rear of the door and it's causing the lower rear corner of the door to dip down. I am planning to put the old bushings in tomorrow night while I have access to the lift to see if that solves the problem. I have a feeling it will. If it works, I can either machine down the new bushings or just use the old ones. I bet the coupes have enough rigidity that it doesn't matter a whole lot. The verts on the other hand are very sensitive!
I forgot to take pics of the dog leg assembly, but it's in the tail end of this vid: http://www.youtube.com/watch?v=hAIn4VHMTtA

Right side dog leg welded in. Also new bottom of fender well support, A-Pillar support and cap on the end of the rocker skin.

Left side crossmember support removed. Also removed a chunk of the wheel well above the trailing arm.

crossmember support patch welded and bottom of wheel well patched up
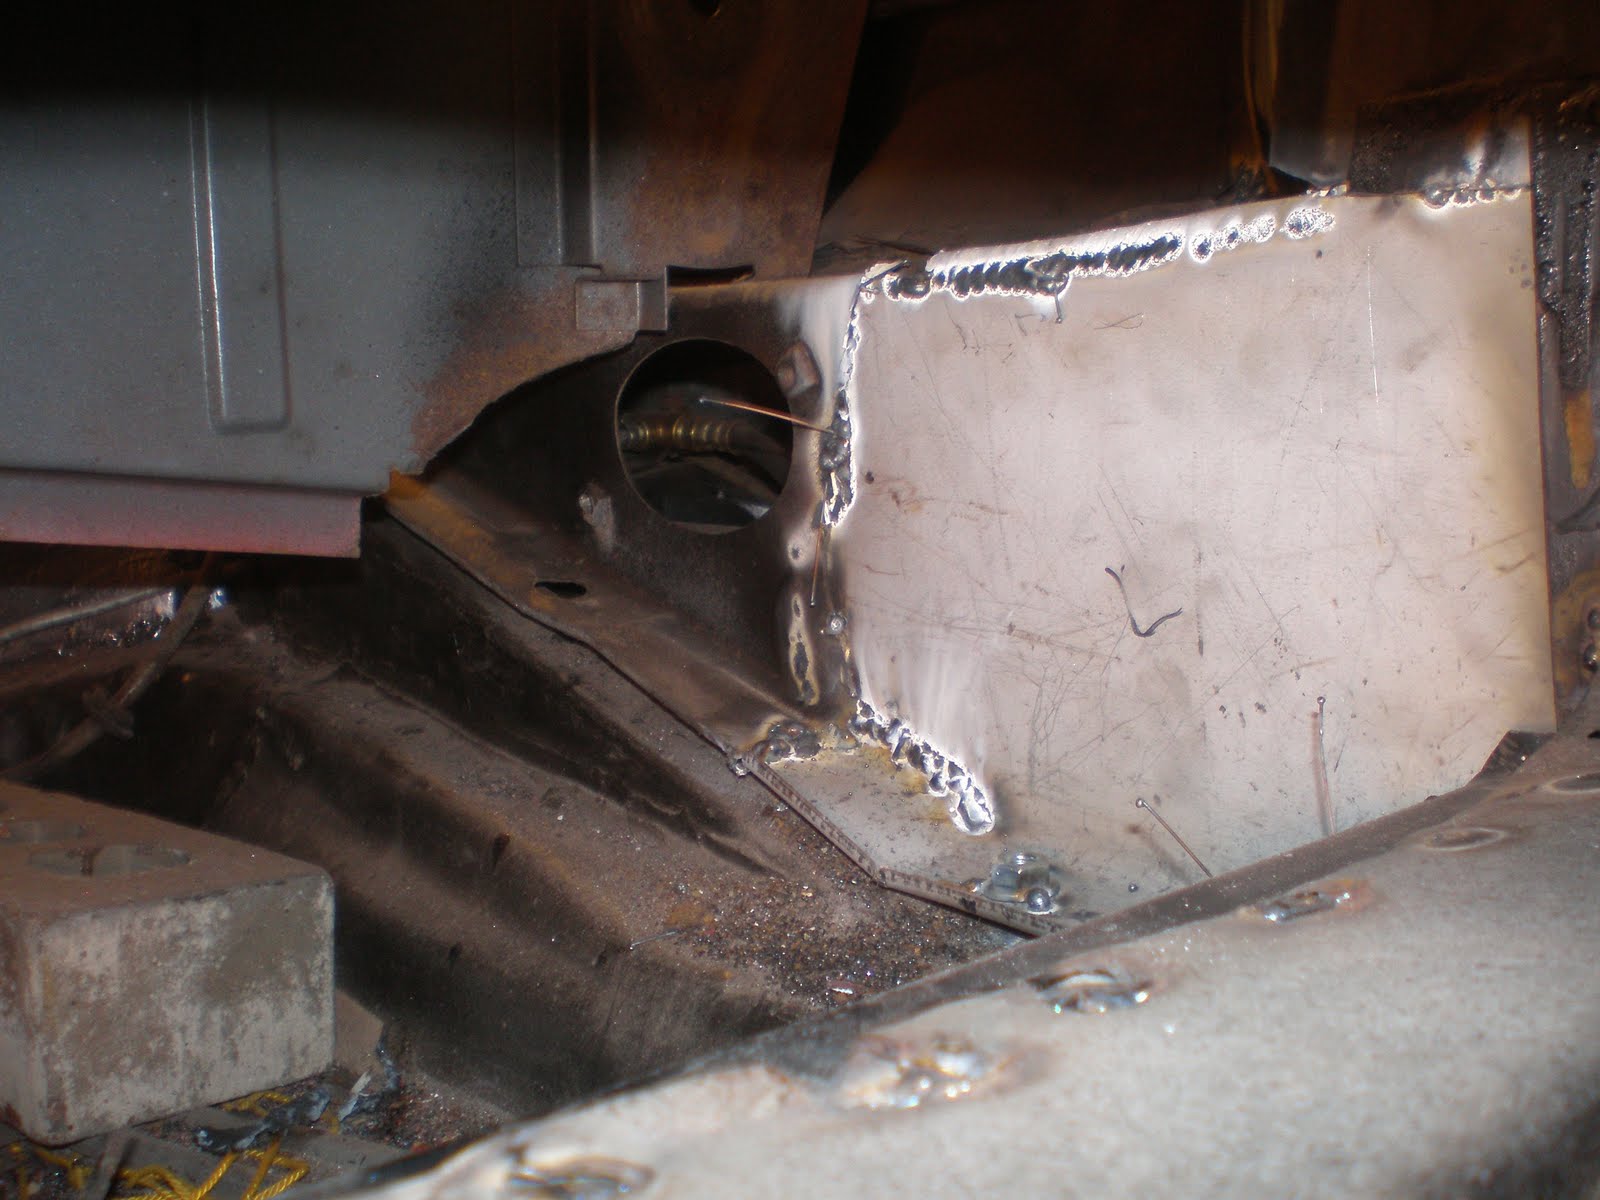 view of crossmember looking in from above rocker panel looking toward rear of the car. You can see the flange nut welded to the patch.
Grandpa Cecil fitting up the patch panel for the right side crossmember support Right side crossmember support panel welded in
 Right side wheel well patches welded in
 Jack mounts. Left is the condition they were in when we took them off the car. The right one has been sand blasted.
Headlight buckets and jack mounts after a coating of POR 15

Headlight buckets with POR 15 applied.
No comments:
Post a Comment
Let me know what you think about the project.